
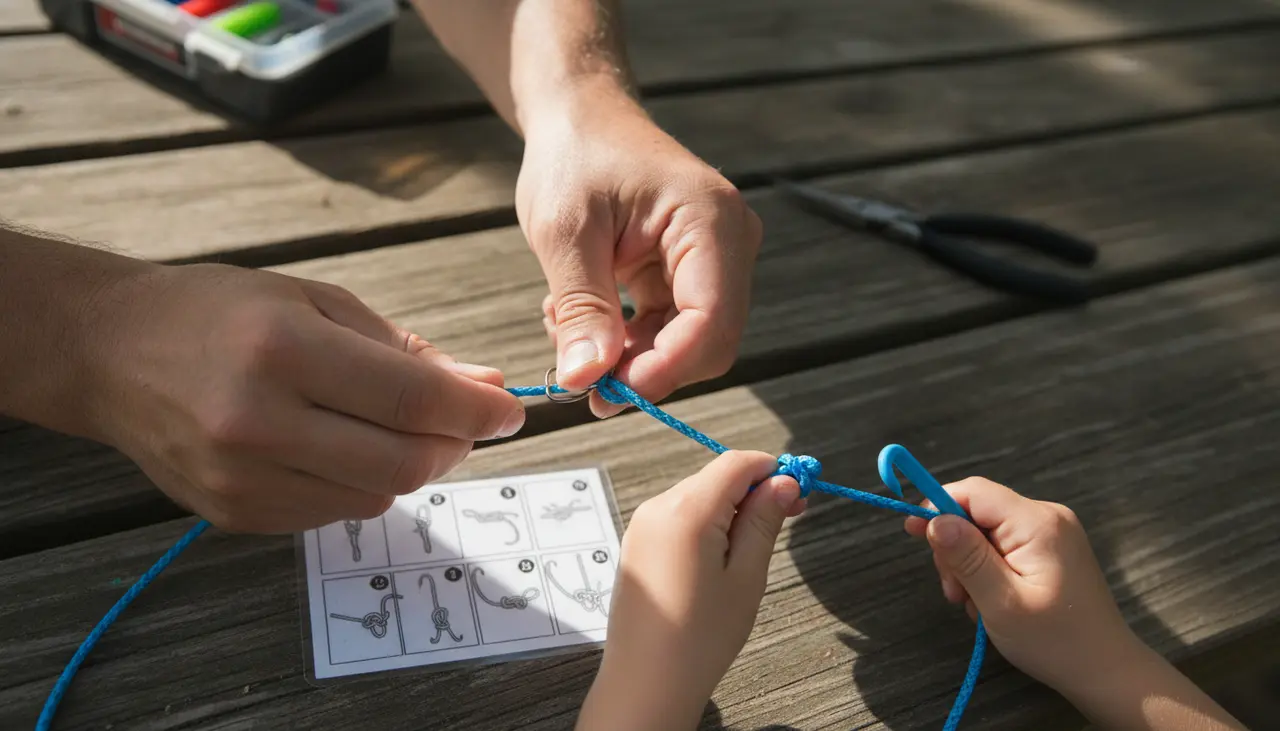
How to Tie a Palomar Knot: A Step-by-Step Guide for Families
To tie a Palomar knot, double about six inches of fishing line and pass the folded loop through the eye of your hook or lure. Tie a loose overhand knot with the loop, ensuring the hook is dangling inside the loop before you tighten. Finally, pass the hook or lure through the loop, moisten the line with water or saliva to prevent friction damage, and pull both the tag end and the standing line simultaneously to cinch it tight.
The Palomar knot is the "gold standard" for recreational anglers because it is nearly impossible to tie incorrectly once you learn the rhythm. It maintains a high percentage of the line's original breaking strength, making it the most reliable choice for everything from pond bluegill to lakeside bass.
Why Every Family Angler Needs the Palomar Knot
We know how it feels when you finally get the kids to the water’s edge. The "magic hour" of sunset is approaching, the fish are jumping, and suddenly, someone’s line snaps or a hook needs replacing. In those moments, you don’t want to be fumbling with a complex 12-step knot while your little ones grow impatient.
This guide is for the busy parent or the weekend hobbyist who wants a "set it and forget it" connection. Whether you are using a setup from our Best Spinning Reels for Beginners in 2024: A Family-Friendly Guide or rigging up a child’s first rod, the Palomar knot provides the peace of mind that your gear won't fail when a big one finally bites.
Step-by-Step Tutorial: Tying the Palomar Knot
Follow these five simple steps to secure your hook, lure, or swivel.
- Double the Line: Pull about 6 to 8 inches of line off your reel and fold it back on itself to create a loop.
- Thread the Eye: Pass the folded loop through the eye of the hook or lure. If the eye is small, you may need to pinch the end of the loop flat.
- The Overhand Knot: Tie a simple, loose overhand knot using the doubled line. The hook should be hanging "inside" the loop of the overhand knot. (Think of the first step of tying your shoes).
- The Pass-Through: Take the loop end, open it up, and pass your entire hook or lure through that loop.
- Moisten and Pull: This is the most important step for safety. Wet the knot with a little water or saliva. Hold the hook in one hand and pull both the tag end and the main line with the other to cinch it down onto the eye. Trim the excess tag end with nippers.
Choosing the Right Knot for the Job
While the Palomar is our favorite for its simplicity, different situations sometimes call for different connections. Here is how it compares to other common beginner knots.
| Knot Name | Ease of Tying | Strength Rating | Best Line Type | | :--- | :--- | :--- | :--- | | Palomar Knot | Very Easy | Excellent | Braid, Mono, Fluoro | | Improved Clinch | Moderate | Good | Monofilament | | Uni Knot | Moderate | Excellent | All types | | Loop Knot | Difficult | Fair | Fluorocarbon (for lure action) |
Best For: Use-Case Recommendations
- Best for Braided Line: The Palomar is legendary for not slipping on "slick" lines like Shimano PowerPro or Daiwa J-Braid.
- Best for Kids: Because it only involves a few large movements, it is the easiest knot for children (with supervision) to learn.
- Best for Low Light: When the sun goes down and visibility is low, the Palomar can often be tied by "feel" more easily than a Clinch knot.
Common Beginner Mistakes to Avoid
Even though this knot is simple, we see these three mistakes often:
- Not Wetting the Line: Friction creates heat. If you pull a knot tight "dry," the heat can weaken the line, especially with fluorocarbon. Always moisten it before the final cinch.
- Crossing the Lines: Ensure the two strands of line passing through the eye of the hook are sitting side-by-side and not crossed over each other, which can cause the line to cut itself under pressure.
- Using Too Little Line: Don't be afraid to pull a long loop. If your loop is too short, you’ll struggle to pass the hook or lure through it in Step 4. You can always trim the extra later.
Gear Check: Does Your Line Match Your Knot?
The Palomar knot works beautifully on almost any line, but for family outings, we usually recommend a quality monofilament or a manageable braid. If you are still putting together your family's tackle box, be sure to check out The Reel Family Fishing Master Buying Guide: Gear for Every Age and Stage to ensure your line weight matches your rod’s specifications.
Frequently Asked Questions
Is the Palomar knot better than the Improved Clinch knot? In most tests, the Palomar knot is stronger. While the Improved Clinch is a classic, the Palomar is generally preferred for modern braided lines because it is less likely to slip.
Can I use the Palomar knot for large lures? Yes, but it can be tricky. Since you have to pass the entire lure through the loop, very large crankbaits or multi-hook lures can be cumbersome. For those, a Uni knot might be easier, but the Palomar will still hold if you have enough line.
What is the "tag end"? The tag end is the short piece of "waste" line left over after you tie your knot. We always recommend leaving about 1/8th of an inch when you trim it, just in case the knot settles slightly under the weight of a heavy fish.
--- Disclosure: This post contains affiliate links to products. We may receive a commission for purchases made through these links at no additional cost to you, which helps us keep the Reel Family Fishing community growing.